Thursday, July 28, 2011

The GREATEST transformation of them all...

Once again I'm keeping the road hot and traveling to one of my very favorite places: the mountains of Virginia.  My parents grew up in this area and now plan to retire here in the (we hope) near future.  I remember visiting relatives when I was little and being bored out of my mind with no television, no phone, and no modern conveniences of life.  (We did have indoor plumbing, but that's about it!)  Today it is not as remote as it once was (hence the reason I'm able to write this blog), but it is still a place of pure peace.  To show you what I mean, take a look:


One of the GREATEST transformations of all time (in my opinion) was the transformation of the home that my grandparents built in the 70s.  This is the same home that my parents now call their "home away from home." 


We used it as more of a "camp" when I was growing up because we were only up here a couple times a year.  By the time my parents decided to take the plunge and officially retire here, the house was basically falling down.  They had to take care of some MAJOR repairs before they could make it their permanent home. 

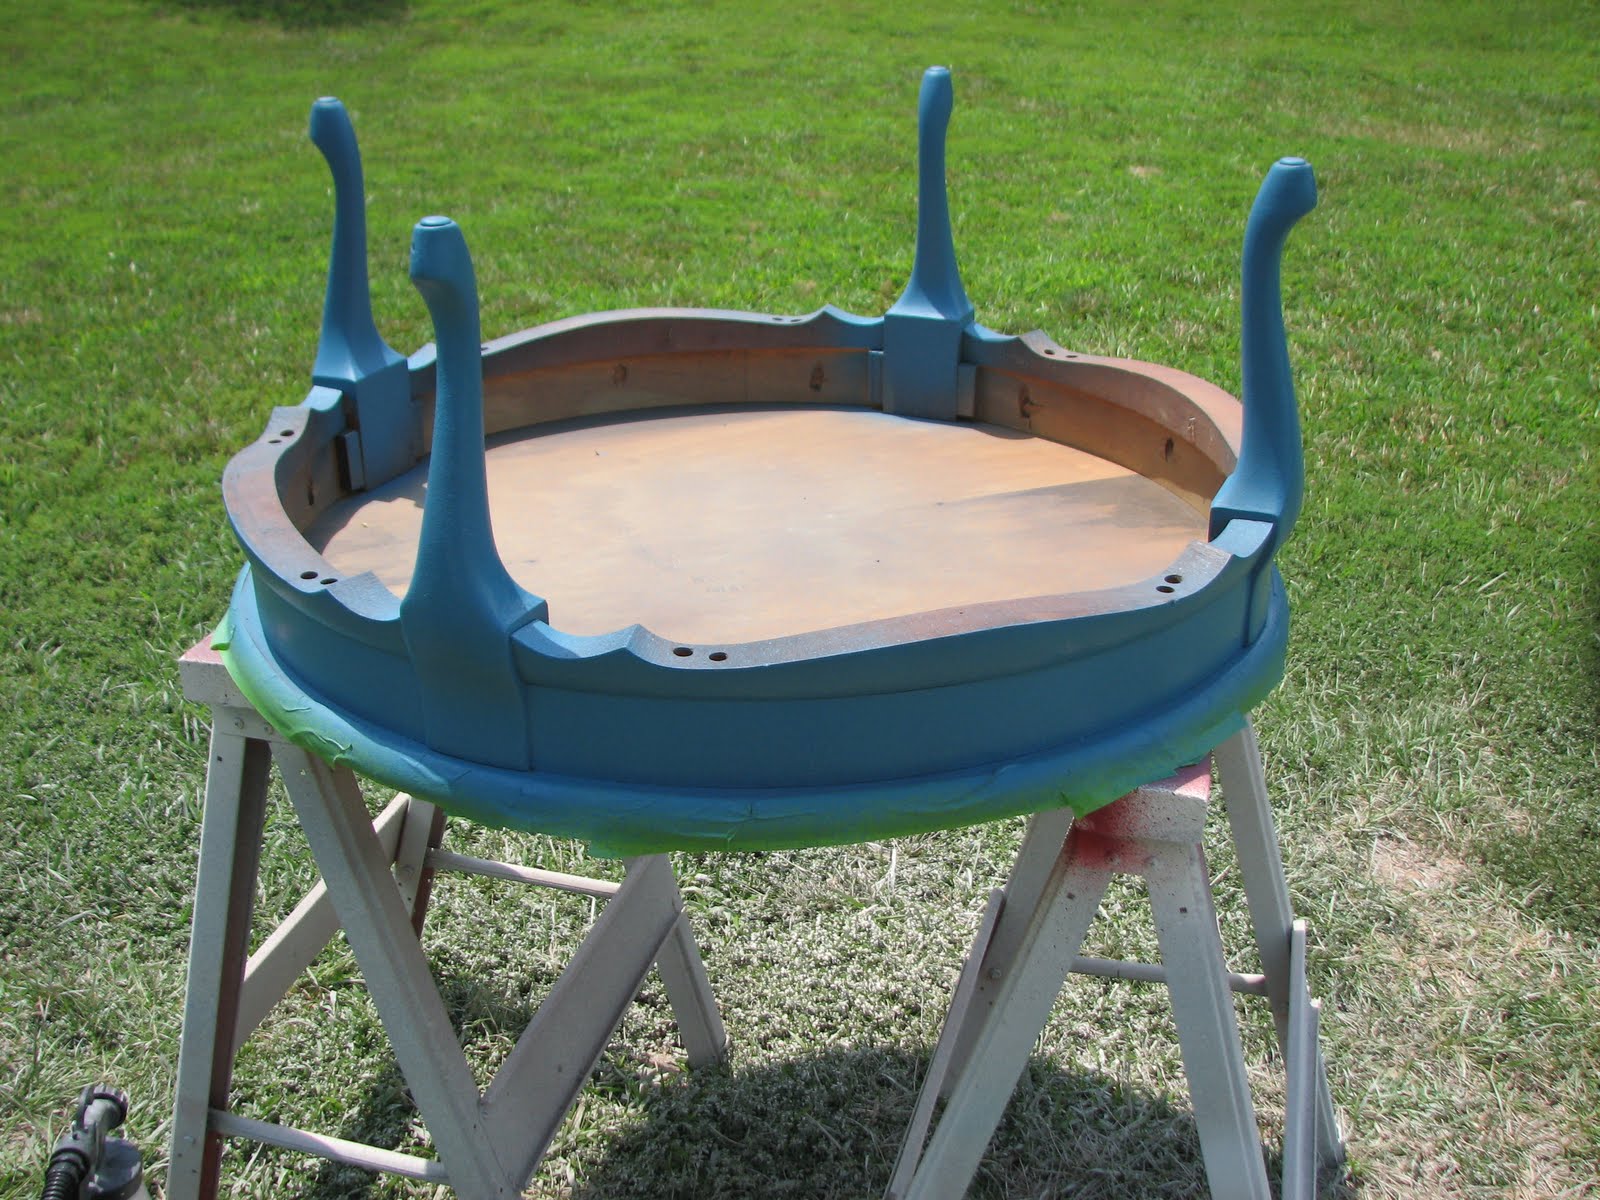
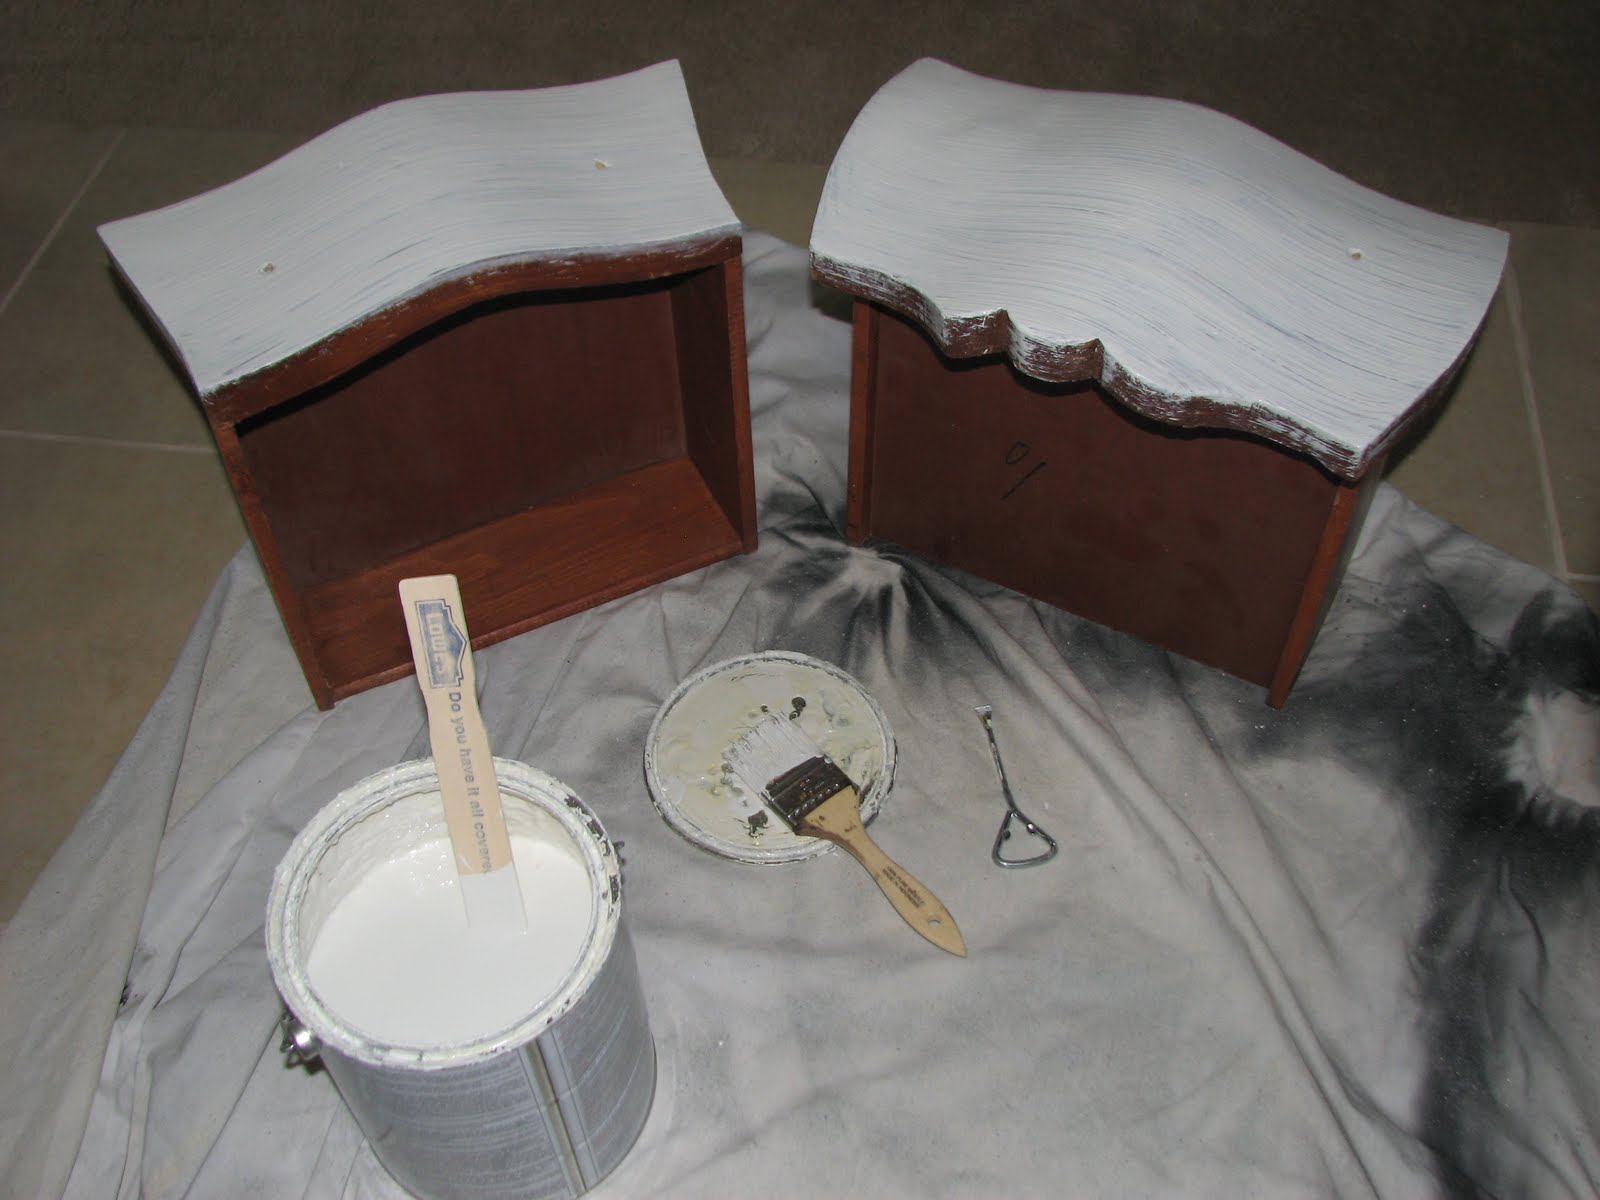
This was the extent of my help with the remodeling project:


Now it is the most beautiful place on the planet!  I love visiting (did I mention that there are wonderful thrift stores nearby?!?!) and I cannot wait for my parents to enjoy living here permanently for a very long time.


Now it's time for Mom and me to leave this beautiful home and hit some of those great thrift stores that I mentioned.  I'll keep you posted with some of our fabulous finds!

Happy Junkin'!

Sarah

Wednesday, July 27, 2011

More Chalkboard Cabinets

I am a sucker for cabinets.  Particularly cabinet doors.  This all started with my very first chalkboard cabinet project (click here!) and now I just can't get enough.  This project is cheap, easy and the end result is not only adorable but very functional as well.  I bought these babies at a salvage yard.  They had LOTS of cabinet doors, but I left the store with only four (I could picture Mr. Dump opening the garage door to remind me of all of the loot in there if I had brought home any more than that.  I'm trying to sneak more stuff in when he's not looking!). 


 I primed all four cabinet doors with a latex primer.


For variety, I painted two of them turquoise and two of them green.  (I would have picked more colors, but I spent my entire day cleaning out the spray gun!)  For my future chalkboard projects (Oh, YES, Mr. Dump... There will be more!) I will prime them, leave them in my garage and pull them out as I'm painting other pieces.  This will be much easier and much more efficient!


Then I took my sander (I recommend using a 60 grit sandpaper) and I sanded most of the blue and green off to give it a distressed look.


Mr. Dump helped me paint the chalkboard paint inside the lines (I was never very good at that!).  Plus he LOVES helping after a long day of work!


I hung a picture hanger on the back of each one, and now they are ready for a new home (or maybe my home...)! 


Next time I will probably hang knobs on the chalkboards to make them unique and extra special.  Hobby Lobby didn't have them on sale this week (isn't everything ALWAYS on sale at Hobby Lobby???  I'm still a little bummed about this!)  In the end, I liked the simplicity of them (I'm really just trying to make myself feel better about the knob situation...).  Does anyone else know where to find cool (and cheap) knobs??

Happy Junkin'!

Sarah

Tuesday, July 26, 2011

Smurf Table

This coffee table was in fairly good condition, but it needed a little Dumped and Discovered touch to help release its true inner (maybe outer) beauty!


I really liked the natural wood that was trying to surface (notice the bald spot above), so I sanded the top until the bare wood was unleashed.


I taped around the edges, flipped the table upside down, and painted the legs a Smurf blue (I miss the days when I could watch them on Saturday mornings!).  Okay... not really, but the movie looks like it could bring back memories.  Does anyone else think it's weird that Doogie Howser and the Smurfs are teaming up? 


Okay... back to the table...  Finally it was time to stain the top.  I chose a dark walnut stain and slathered it on Gargamel style (Seriously, enough with the Smurf references!).


I decided to use a wipe-on poly instead of the typical polycrylic that I've been using because I didn't want to see brush strokes on the top.  It was actually very easy to use and I really liked the result!

I forgot to take a picture of the final "staged" piece before we took it to the Sleepy Poet... I'm sorry!  I guess I'll just leave you with something else to look at...


Happy Smurfin' I mean Junkin'!

Sarah

Monday, July 25, 2011

The World of Auctions

Auction... My favorite seven letter word... For those of you that have never been to an auction, you HAVE to check one out! (Go to auctionzip.com to find one near you!) You can expect heart racing, palm sweating fun (and get incredible deals too!). We went to an auction this weekend in the back (and I mean back) country of Stanley County! It was on a beautiful farm with lots of trees (thank goodness!) and a crowd of about 200 people. We got there early (imagine that) and we were still card number 90. I'll spare you all the gory details, and just show you what we found.

Where do I begin?!?!

Antique Desk ($5.00)


Chair ($5.00) We thought that it would fit in the desk - WRONG! (but it was $5 so who cares?!?). They also threw in the trashcan for free!


This buffet and hutch was only $25.00!! (Leave a comment to tell me what color you think this beauty should be! I'm still debating...)


2 Oars and 2 Frog Gigs ($10.00)


Electric Sprayer (Now I have 3... Laura, PLEASE don't call Hoarders! I had to have it at $8.00!)


This cute bench was only $2.00!


There were a few other things that we bid on, but the price tag went above what we were willing to pay (the one downfall of auctions- you never know who else will be bidding!).

A couple of tips...

1) Bring your pickup truck! You'll always leave with more than you thought you would.

2) Pack a cooler (no, Carter, not that kind of cooler!). For auctions you need a cooler of ice water! We went through 8 bottles while we were there.

3) Don't let a couple of bucks keep you from getting something that you REALLY want... Seriously the difference between $5 and $7.50 is only $2.50! (I know that you can do math, but when you're in the moment it is hard to remember this!)  We've actually missed out on things that we really liked for just a couple dollars... (Now that we have our official Dumped and Discovered system that won't happen again!)

4) PEOPLE WATCH!!! Even if you don't find anything (highly unlikely) you can see some interesting stuff!!! I'll let you experience that one on your own!

5) Wear tennis shoes! Take a look at the picture below... Enough said!


Have fun and happy auctioning! You'll see some of my auction finds transformed this week so keep checking back! Here is something fun that we saw this weekend (not at the auction) and I think we're hanging onto it!!!

Happy Junkin'!
Sarah


Thursday, July 21, 2011

Chalk-Lift

I bought the combo below for $20 at a warehouse/antique sale outside of Charlotte.  This was the very first piece that I bought for Dumped and Discovered!  It has been sitting in our garage for over a year and it was about time that I did something with it!  The dresser was (and still is) in very bad shape.  When purchased, it was discovered that a rat had been nesting in one of the drawers.  Thank goodness he/she was gone by the time I brought it to Waxhaw!  I'm still not sure what I'm going to do with it, but I finally had a vision for the mirror(less) part...


I brushed the entire piece with "Weathered Crackle Paint" and let it do its thing for about two hours.


While I waited, I went to Lowe's, bought a piece of plywood (for $10.00), and watched them cut it to the correct size.  When I got home, I sanded it and filled in some of the imperfections with wood filler.


I primed the plywood... (again... Kilz is fantastic!)


and painted 3 layers of chalkboard paint on top.


While the chalkboard paint was drying, I sprayed the piece a soft white.  Crackles started showing immediately!  (How cool!!)


I put the whole thing together and plan to take it to Sleepy Poet this weekend!  I think that it would look great in a kitchen or in a little girl's room...  (Pardon my messy handwriting!  I've been out of the classroom for a while!)


Happy Junkin'!

Sarah


Wednesday, July 20, 2011

Rescued From Fido

We love custom orders!  Our buddy, Jere, at the Sleepy Poet asked us if we could salvage the piece pictured below.  Apparently Fido got a hold of this and took no mercy on its original beauty.  We gladly accepted the challenge (mainly because Jere has been unbelievably wonderful with inside tips and stories when we visit our booth; not to mention he is the jolliest person on the planet - If you've been to the Sleepy Poet, you'll agree!).  The transformation ended up being pretty painless...


We used wood filler (that stuff is magical!) and a putty knife to keep the contour of the drawer true to its original form.  This took several applications and we gently sanded after each one.


We knew we were going to paint the piece a French Grey, so we used Kilz on the drawers to help hide any lingering imperfections. 


It took two coats of paint (and several trips of running inside the house to avoid raindrops) to fully cover the piece.


We experimented with a couple of glazes for the final touch.  The first one was craft paint mixed with tintable glaze which ended up looking more blue than black.  Then we used the same glaze with a latex black paint and it helped add a new dimension to the texture.  Jere was very happy with the end result (at least he pretended to be!) and now it is sitting beautifully in his booth!


The knobs were recycled from our "Thinking Outside the Paint" dresser!  I love when that happens!

Happy Junkin'!

Sarah